Saturday, May 25, 2013

State of the Vegetable Garden, May 2013

Whew! I know I haven't written about gardening lately, but that doesn't mean I haven't been toiling away! So here's a post to catch you all up. Warning: it's long!

The seeds I had leftover from last year, and the ones that I ordered have all been started, and I've got some of the seedlings planted in the garden boxes. Sadly, not all of them yet though!

Just in the past couple days, the garden has seen great improvement! I spent a good bit of the day planting herbs (sage and basil) in pots to put around the retaining wall

The rhubarb was already there, but I have plans to make strawberry rhubarb pie next weekend!

And my ever-helpful buddy Patrick came over to help me build another garden box, so now I have three, and we have plans to build another one on Monday! We were going to build both yesterday, but ran out of light by the time we got the first one finished.

Oh! and may I introduce my newest garden helper? Meet Betsy Lou.

She is a sweet, young (only a year and a half) rescue. I have been fostering dogs for an East Nashville rescue called East C.A.N. and was fostering Betsy for them, but the hubs and I talked, and we decided she's home :-) Seger loves having a little sister (even if she is MUCH bigger than him...she's 70 lbs!!) and the two of them spend lots of time in the backyard running and playing.

Ok....back to gardening....I harvested my first crop of peas yesterday. Those are going gangbusters. They've actually grown taller than the trellis.

 You can see where I've planted some lettuce. It's not very big yet, and it looks like it maybe got dog smashed....*sigh*

These are the lemon tree tomatoes (not all of them....there are more planted elsewhere, and still to be planted!). 

These (to the left) are trionfo violetto beans. Even their stalks are purple! I can't wait to see what they look like as they get a little bigger.

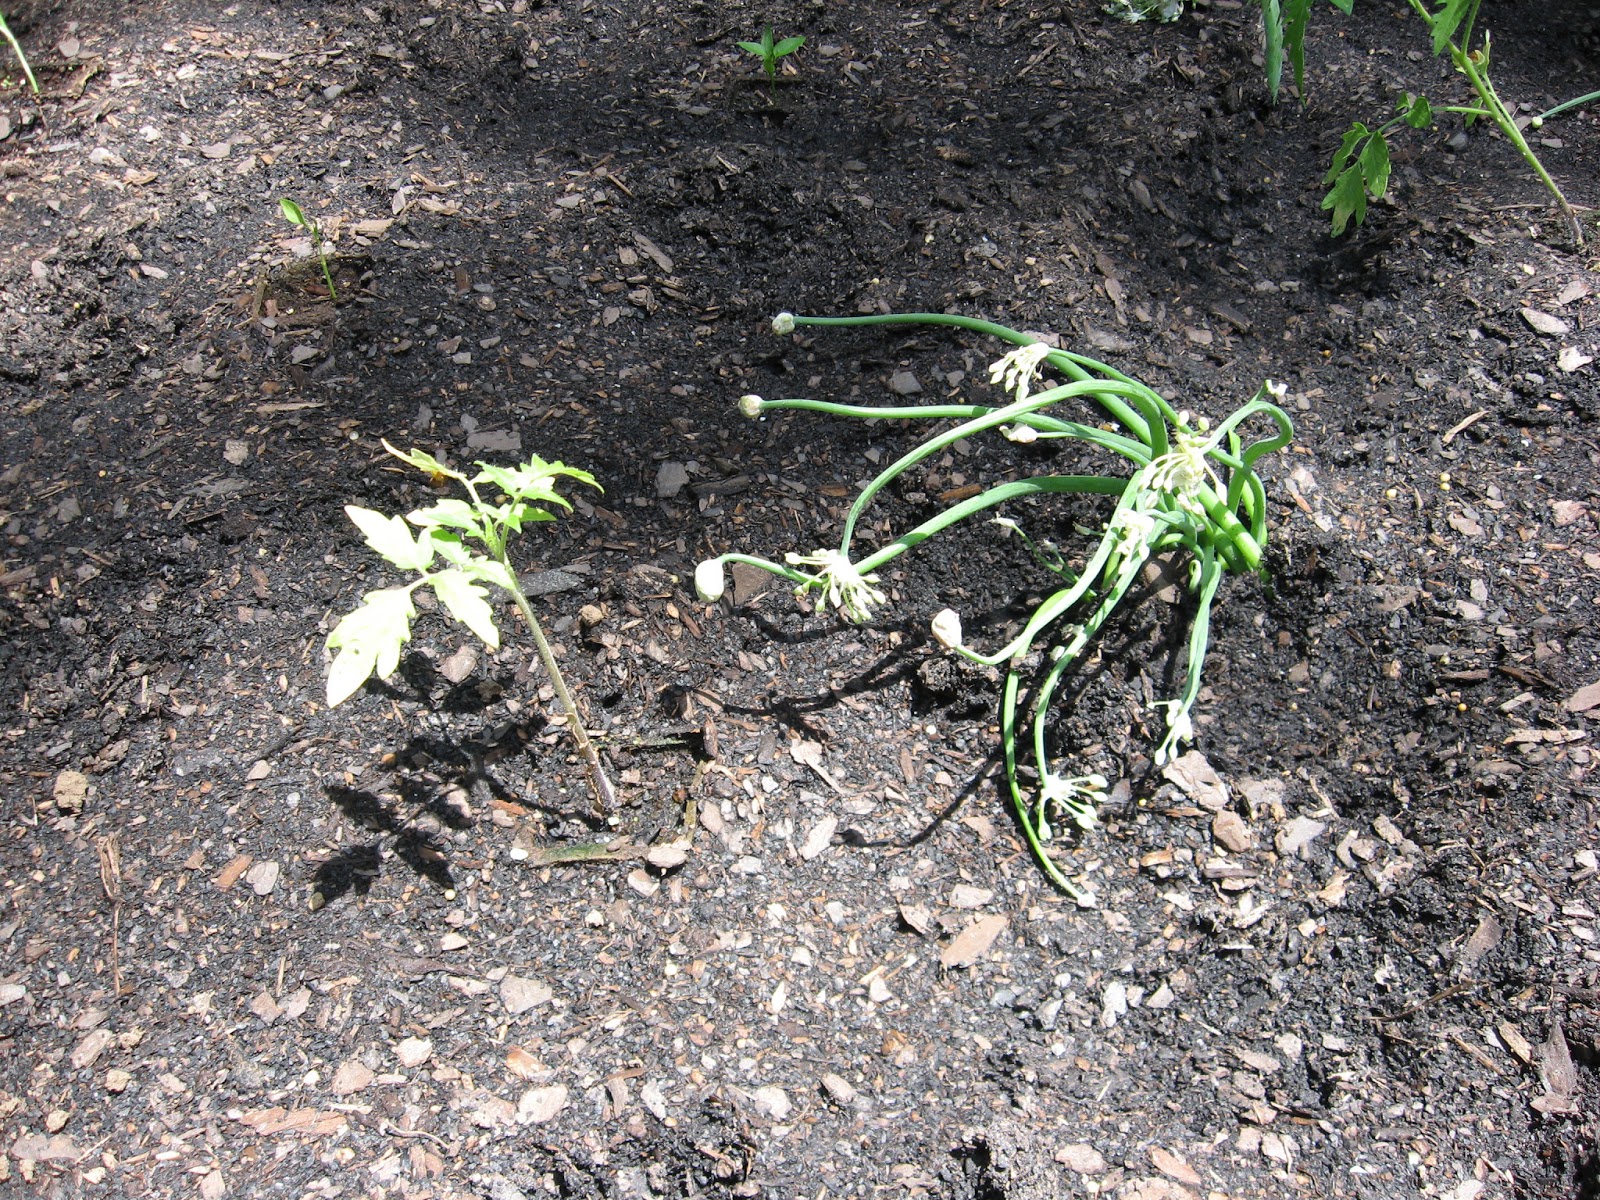
These (to the right) are a variety of onion sent home with me by Patrick. I guess they grow onions at the top of the plant as well as growing them as a root. My mom says they might be Egyptian walking onions....anyone know for sure?

Bonus shot of the garden box layout. I think the fourth one is going to end up on the far end of the line. Eventually I'd like to have a total of eight, but we'll see what happens!

The blueberry bush has gotten a lot bigger, and is already putting on berries. Hopefully I'll have a good crop this year.


In the retaining wall bed, I planted various herbs and flowers that are coming up. There's dill....

....and sage....

...and nasturtiums....

....and I think these might be asiatic lilies. Not sure yet. I kept pulling them last year because I thought they were weeds, but I'm pretty sure someone actually put these here on purpose haha.

 The tea rose is putting on buds. The ones in front have already finished their first round of blooms and are getting ready for a second. Doesn't this one look like it's ready to burst open?

Oh, and I keep waiting and waiting for the garlic to be ready to pull. I thought it was supposed to be ready in the spring, but I also know you aren't supposed to pull it till the leaves die, so I guess I'll keep waiting....

I dug up this spot just this morning to plant the faerie watermelon, and a few sunflowers. I have a lot more digging to do to plant all those sunflower seeds though!

 My lemon balm has come back with a vengeance! I'm seeing more cocktails in my future....maybe a jelly? Anyone have any ideas??

This mint was, I think, accidentally passed along to me by my voice teacher and his wife. They gave me a bunch of flowers to put in my flower beds out front, but I'm not sure if this was supposed to be in there or not! It looks a little sad right now....probably because it's a clump of dirt sitting on dry leaves (need to fix that), but knowing how hardy mint is, I think it'll be alright until I can get my hands on some more potting soil.

Oh, and here are the first of my container tomatoes. I need to prop it up with something....hmmmm....

Kudos to you if you seriously just read all that. How is your garden looking? Did you plant anything super neato/unusual this year?

Monday, May 20, 2013

Painting a Concrete Floor

Ok, the floor in the music room is painted and I've been slowly chipping away at the final touches to call this room done, but in the meantime, it's habitable! Hooray!!

So about those floors.....here they are.


Well, the paint was still wet in this picture....it's not shiny at all now that it's dry!

So I already went over the crazy/scary part of painting concrete floors. The rest was easy (excepting maybe waiting 5 days to put anything on said floors while the paint cured).

The first thing I did was use a bonding primer so that the paint would really stick to the concrete. That had to dry for at least 24 hours before the first coat of paint went on. Here's a mid coat picture...

I used Behr's porch and floor paint for this because it was what they recommended at Home Depot. It's really thick and sludgy! And with the color I chose, it looked like (and was about the consistency of) chocolate cake batter coming out of the paint can.

I actually did two coats, because just one left a few spots that weren't completely covered, but since the second coat was so much thinner than the first, I got away with only using one gallon of paint.

Ready for the before and after? Here's the garage as it was when we moved in....

...and here it is (even with a little bit of furniture!)

While things look pretty decent in this pic (which I hurriedly took with my iphone, so it's not the greatest), there's still quite a bit to be done in here. I've still got to bring in a desk, more chairs, make another set of curtains (there's a window on the far wall), finishing touches on the paint....in short, I've still got plenty of work to do!

Friday, May 3, 2013

This is Your Brain on Drugs....

....and this is my floor on acid!


I feel like a little back story might be in order.

So I mentioned here and here that we were planning on (and in the midst of) converting our garage into liveable space that could be used as my music room. Well it's ALMOST done! You can see above that the walls have been painted (though there is some touch up work to do since the baseboards have been installed), the door installed, and baseboard added. What you can't see is the HVAC vent that has been added, the painted ceilings, the closet, and added electrical outlets.

Rather than adding the expense of putting flooring over the concrete, I decided to just paint the floor. At the beginning of this project, this looked like a no brainer. You just roll out the paint on the floor like you do on the walls right?

WRONG.

When I went to actually buy the floor paint, I was informed that because most garage floors are sealed (it's what keeps every drip and drop that comes out of our cars from leaving big ugly stains), I would have to etch the concrete in order to open the pores and get the paint to stick.

So how does one etch a concrete floor? With muriatic acid. Yes, I said acid.

The nice man at Home Depot was nice enough to walk me through the process, but when it came time to actually do this, I have to admit I was pretty intimidated. Acid eats through clothing, skin. It is harmful if inhaled....and besides the possibility of bodily harm, what if it got on something it shouldn't? And muriatic acid (which I have since been informed is a variety of sulphuric acid) is the sizzle and pop kind.

So the process goes like this:
  1. Don long sleeves, long pants, shoes you don't care about, and rubber gloves. 
  2. Open all the windows and doors so you have good ventilation. 
  3. In a watering can, you combine 3 parts water to 1 part acid. I recommend doing this outside so the fumes aren't in your house.
  4. This solution gets sprinkled on a section of the concrete (whilst being very careful not to get any of it on your clothes, shoes, skin, etc. Safety first). It will sizzle like an egg in a hot frying pan. It's scary. Just keep going.
  5. Push the acid solution around with a broom to make sure you get full coverage.
  6. Wait a few minutes.
  7. With a mop and a bucket full of plain water, mop up the acid. You will get all kinds of nastiness off your floor that you never knew was there. I had to change the water frequently.
  8. Repeat (still working in sections) until you have etched the entire floor.
  9. Once the floor is dry, mop with plain water again.
All total (not including drying time), this took me about two hours for a room the size of a one car garage. I barely finished the acid part in time to get ready for school, and did the final mopping when I got home. I still have to prime the floor and then paint it. I'll keep you posted!

Has anyone else ever etched concrete? Was it as scary for you as it was for me?